Heated-Floor Electrical Installation

Heated-Floor Electrical Installation in San Jose

A heated-floor project is easiest to plan before waterproofing and tile work close the floor. We coordinate the electrical side with your selected system and remodel schedule.

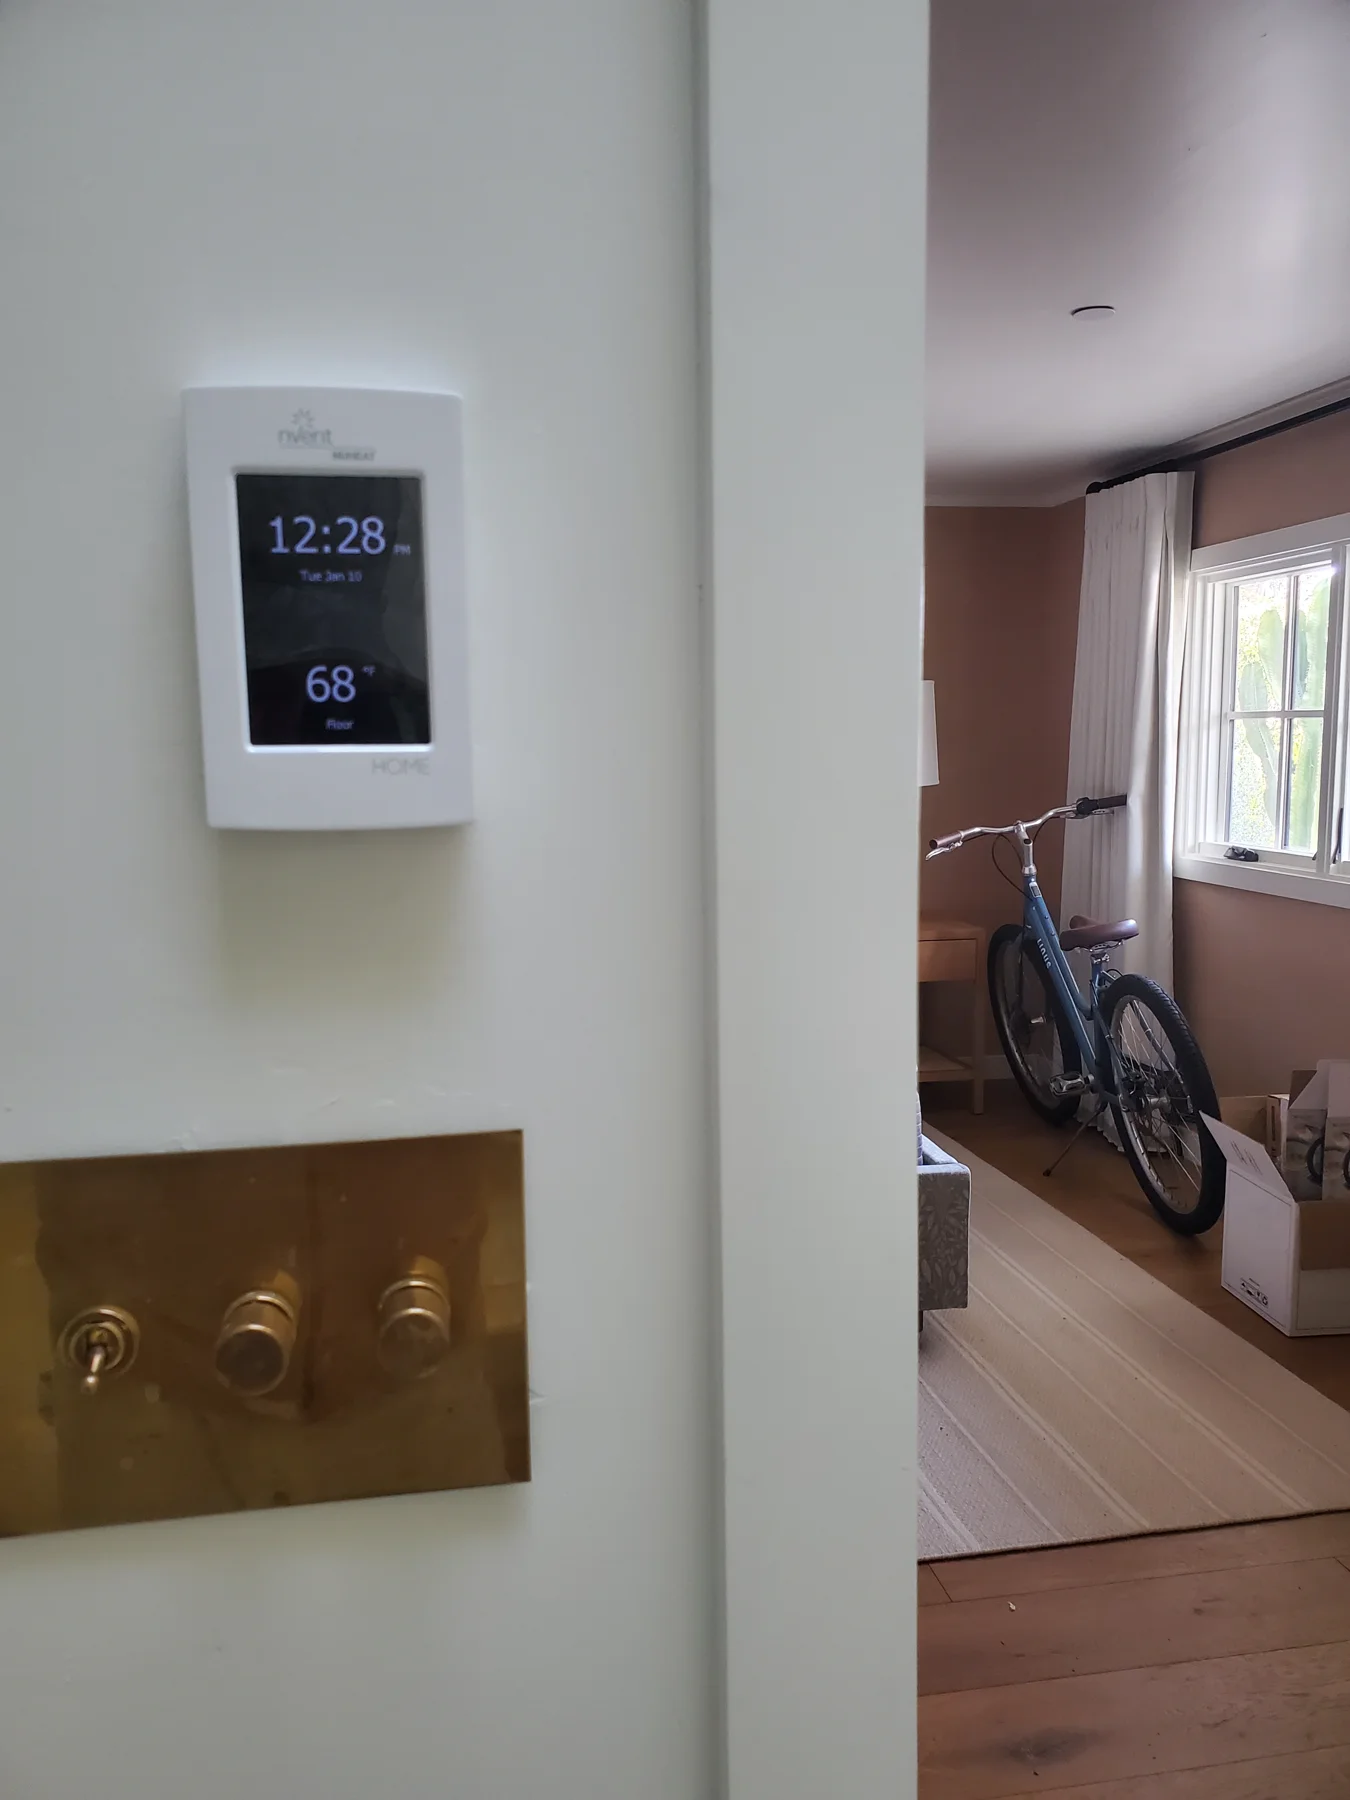
NUHEAT floor-heating thermostat above a brass wall-control plate
CRE field photo · Floor-heating thermostat and adjacent wall controls

Plan the work

Selected system

Circuit planning around the actual floor-warming product

Heating cables, mats, controls, and power modules are product-specific.

  • Share the manufacturer and model
  • Confirm system voltage and listed load
  • Review available panel space and route
Control location

Thermostat and sensor coordination

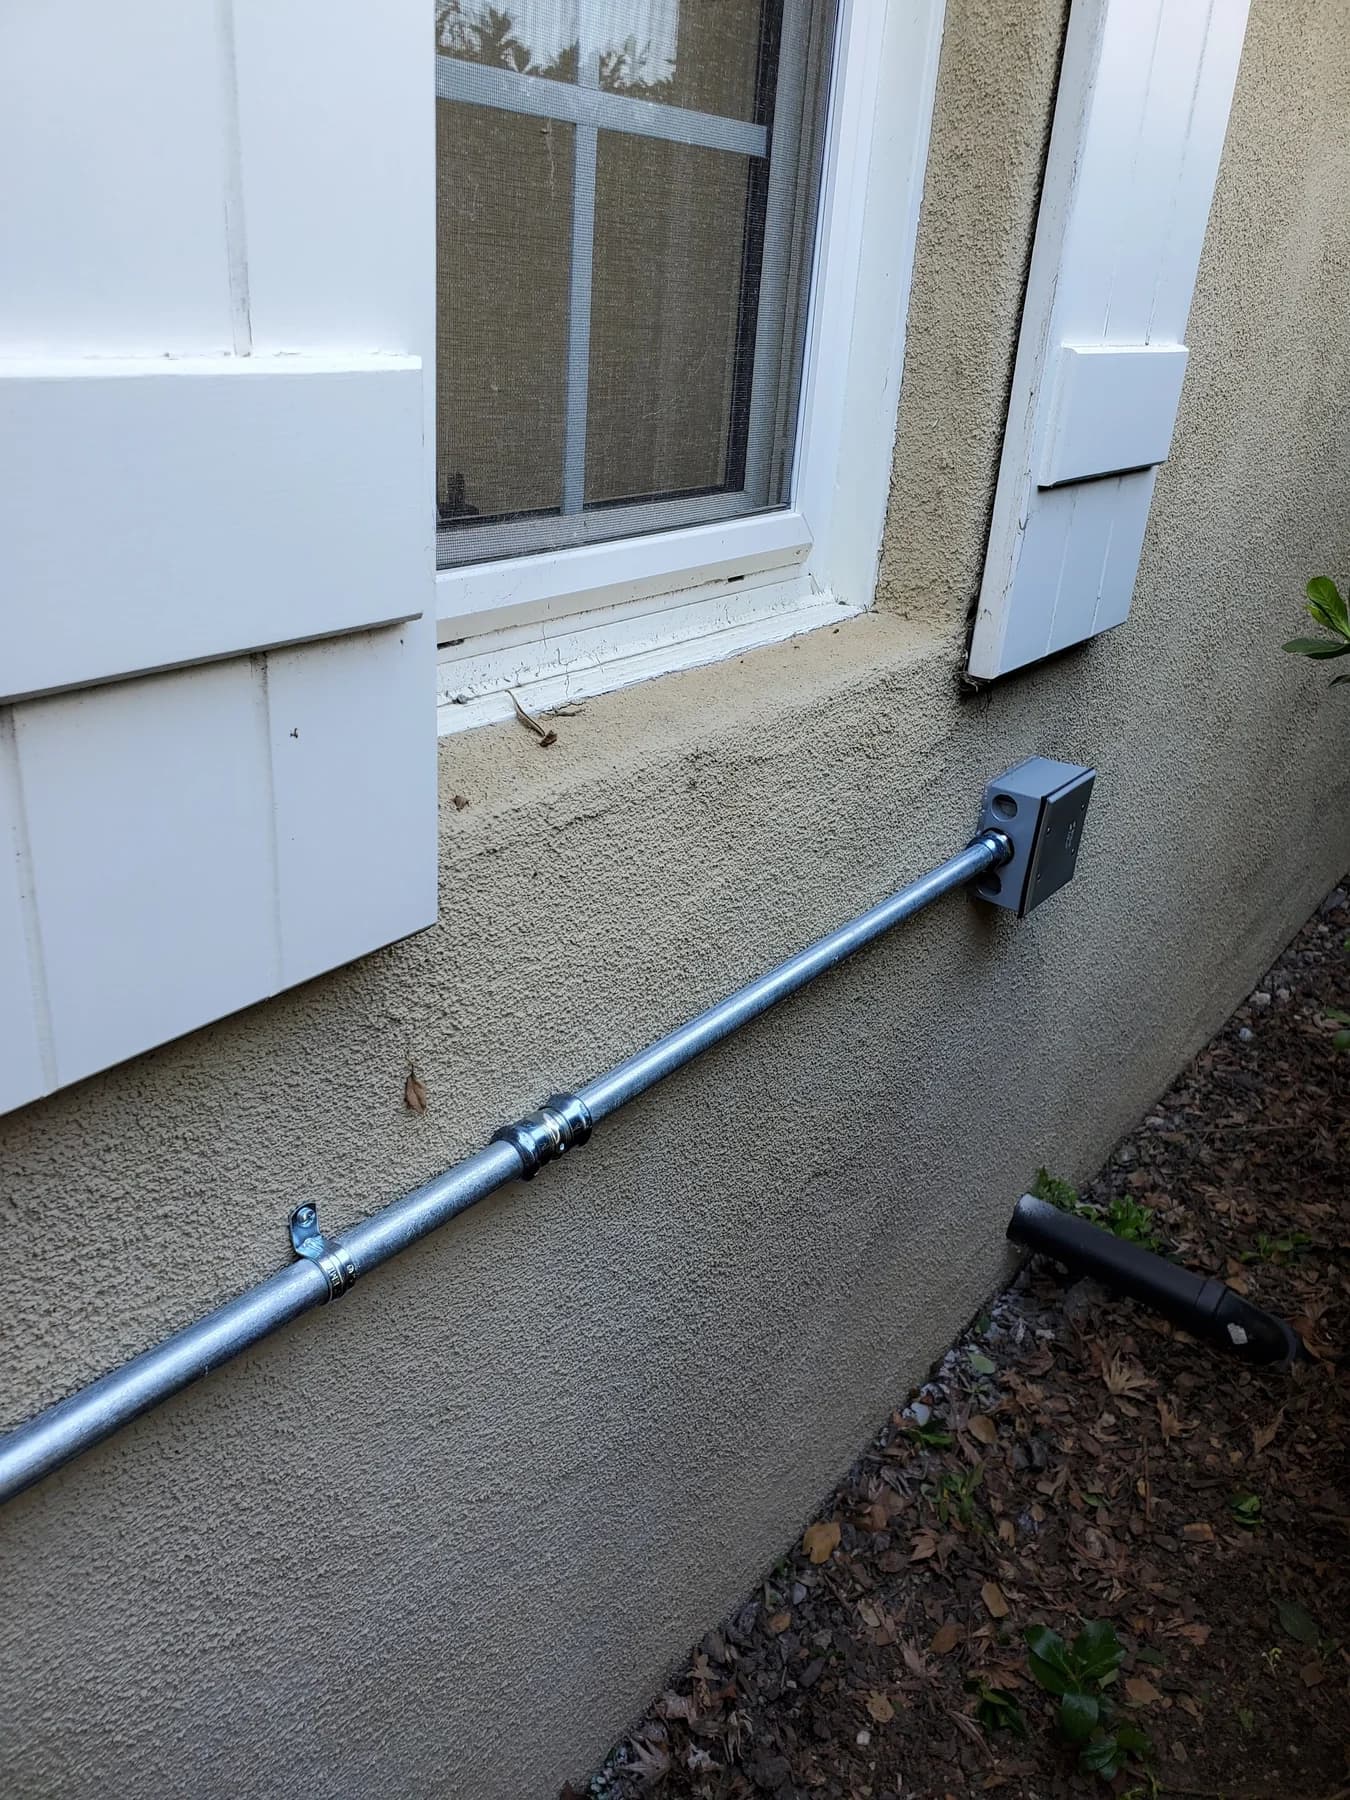
The control location needs room for the selected device and a practical path for its supplied sensor and heating connections.

  • Choose an accessible wall location
  • Coordinate the sensor before finish work
  • Keep the manufacturer instructions available

Remodel timing

Electrical work timed with the floor assembly

The tile setter, waterproofing plan, and electrical work have to meet at the right stages.

  • Confirm rough-in timing
  • Protect the heating components during construction
  • Arrange final connection after the floor work

Begin with the heating system, not a generic circuit

Floor-warming products vary by voltage, heating load, control arrangement, and installation instructions. Send the product sheet or model number with a bathroom plan and a photo of the panel. That lets the electrical scope begin with the equipment you actually selected.

We review the available panel capacity, the route to the bathroom, and where the control will live. A larger area or a system using an added power module may change the equipment and coordination needed.

Plan the thermostat before walls and tile are finished

The thermostat is both a visible part of the bathroom and the point where the system’s specified power, heating, and sensor connections meet. Its location should be decided with the vanity, door swing, cabinetry, and wall finish in view.

Schluter’s current DITRA-HEAT guidance calls for its supplied floor sensor and qualified electrical connections. Other manufacturers have their own instructions. We follow the instructions for the selected system rather than treating one brand’s layout as a universal recipe.

Coordinate before the heating layer is covered

The flooring contractor controls the heating mat or cable installation and floor assembly unless the agreed scope says otherwise. Electrical planning should happen before those layers are closed, so the route, control box, sensor path, and manufacturer-required checks can be coordinated without reopening finished work.

Protect the product and keep its documentation with the remodel records. If the manufacturer calls for resistance readings or other stage checks, those results belong with the product instructions and the project team’s documentation.

What affects the electrical scope

The room size alone does not define the work. The selected heating system, its listed load, existing service capacity, access from the panel, wall conditions, and remodel sequence all affect the plan.

A bathroom renovation can also be a good time to consider lighting, exhaust-fan, outlet, or dedicated-appliance changes. Those are separate decisions that can be discussed together, then scoped clearly.

A clear handoff for the finished bathroom

At the end of the electrical scope, keep the thermostat and heating-system instructions, model information, and any system documentation in the home file. They help a future owner, tile contractor, or service technician understand what is under the floor.

Before requesting an estimate, send the heating product, bathroom plan or photos, remodel timing, and any known concerns about the existing panel.

Plan the hidden work before the finished floor

Good heated-floor planning protects the project schedule by resolving product, control, route, and access questions before finish materials conceal them.

  1. Review the product and room

    Start with the model, plan, panel, and renovation schedule.

  2. Coordinate the electrical scope

    Set the route, control location, and handoffs with the project team.

  3. Complete the agreed connections

    Finish work in sequence with the selected product instructions.

Common questions

Can you install the electrical side of a heated bathroom floor?

We can plan and perform the agreed electrical scope, including the circuit and selected control connections, while coordinating with the flooring or remodeling team.

Do all heated floors use the same circuit and thermostat wiring?

No. Requirements depend on the selected product, voltage, listed load, control, and current local requirements. The manufacturer instructions govern the system.

When should I call?

Call before the floor assembly is closed. Share the system model, room plan, remodel schedule, and a panel photo when available.

Can the electrical work be coordinated with tile installation?

Yes. The scope can be sequenced with the remodeling and flooring teams so each required connection and check happens at the appropriate stage.

Tell us about your project.

Share your city, the work you need, and any equipment or plans you already have.

408-614-4451
Loading the inquiry form…
Call (408) 614-4451Request an estimate

We use necessary browser storage to remember your choice. With your permission, Google Analytics helps us understand which pages are useful. Contact forms work either way. See our privacy policy.