Cove light
Bring an existing cove back to life
Update an existing cove while reviewing the source, driver, control, and ceiling detail around it.
- Replace tired light sources
- Keep the existing detail
- Set a comfortable evening level
Residential LED Lighting Retrofit
Improve tired, uneven, or poorly controlled lighting while checking the fixtures, dimmers, wiring access, and finished details already in the room.
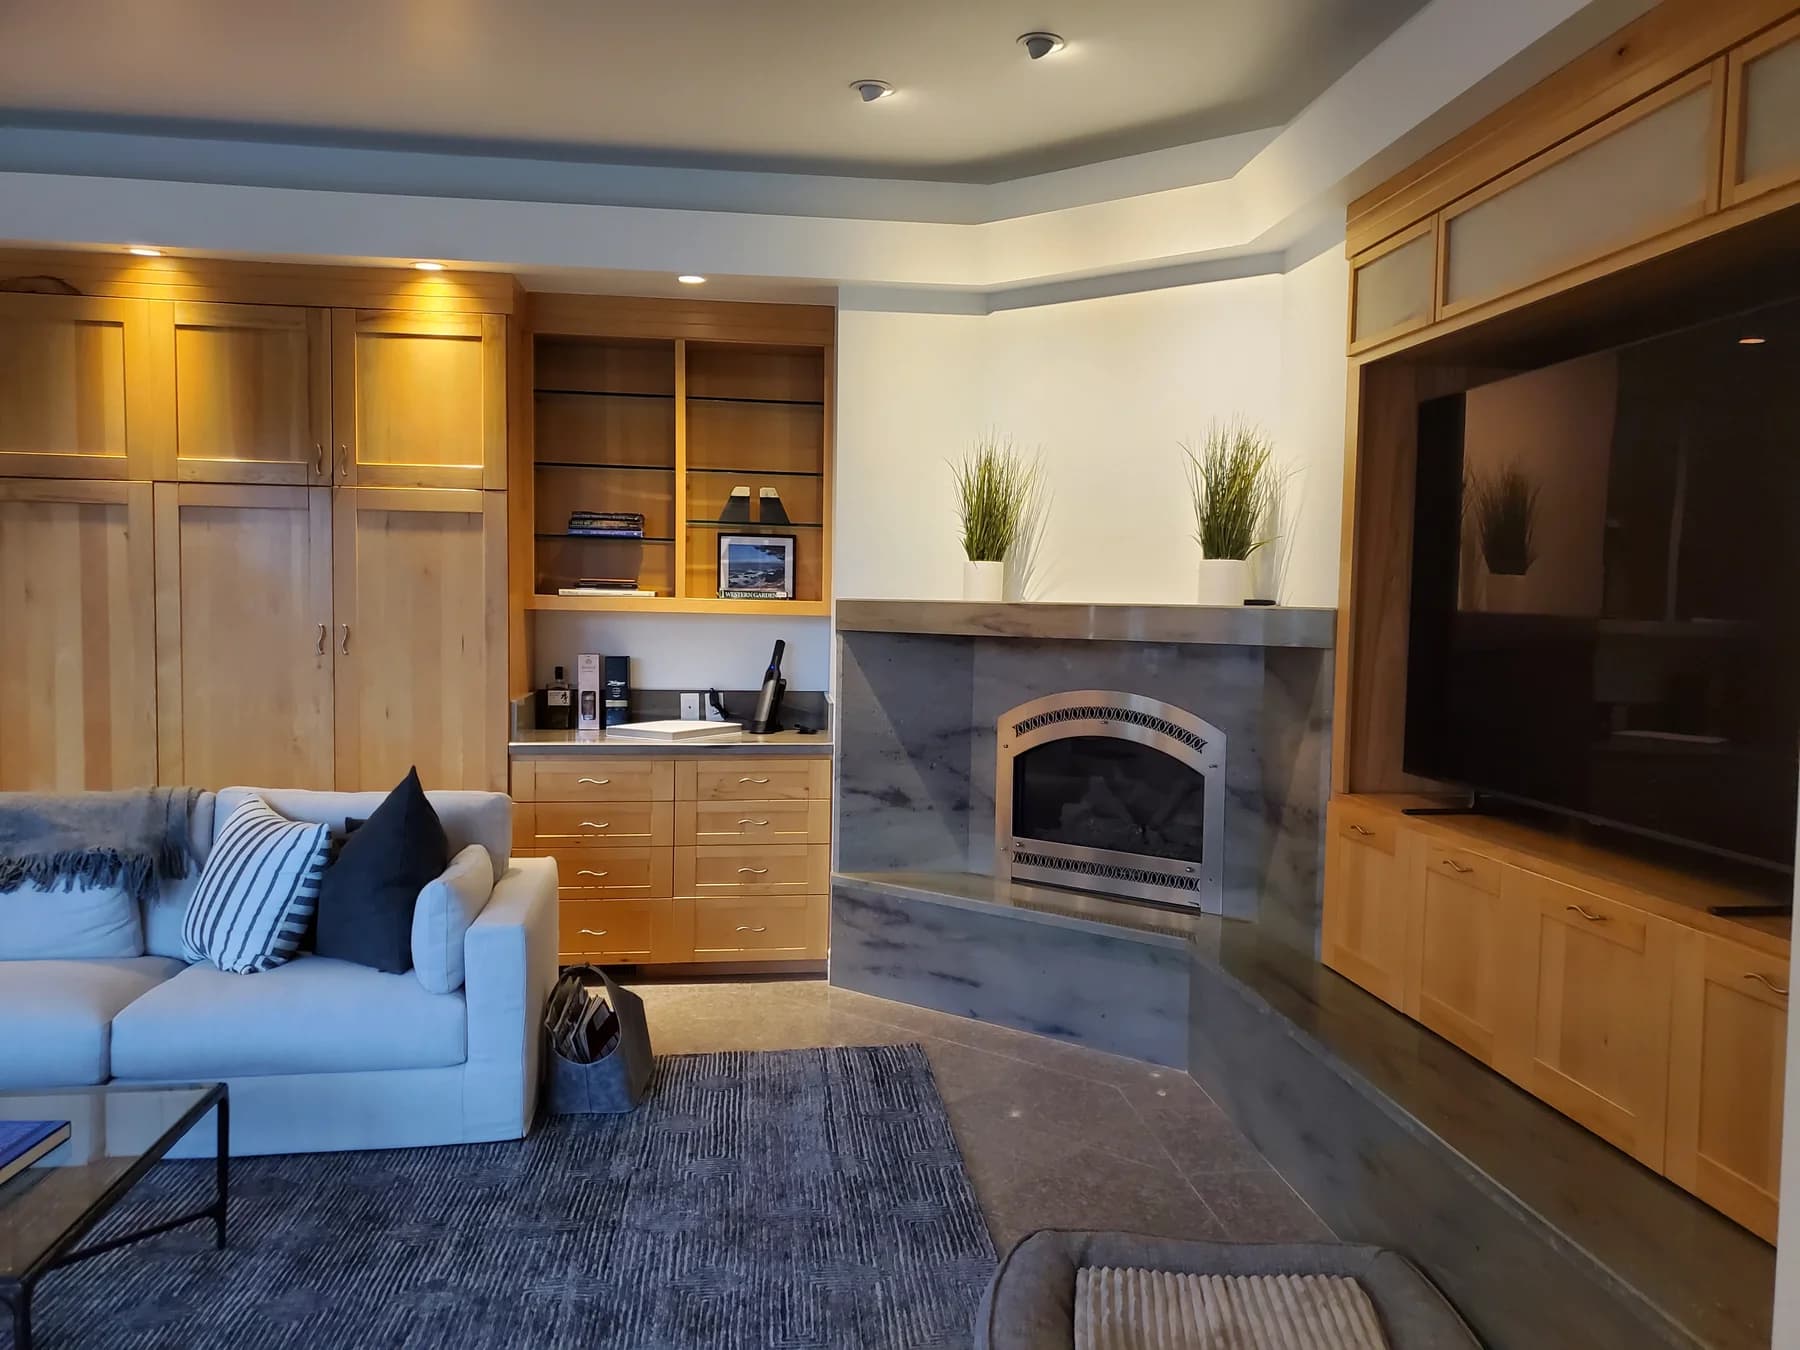
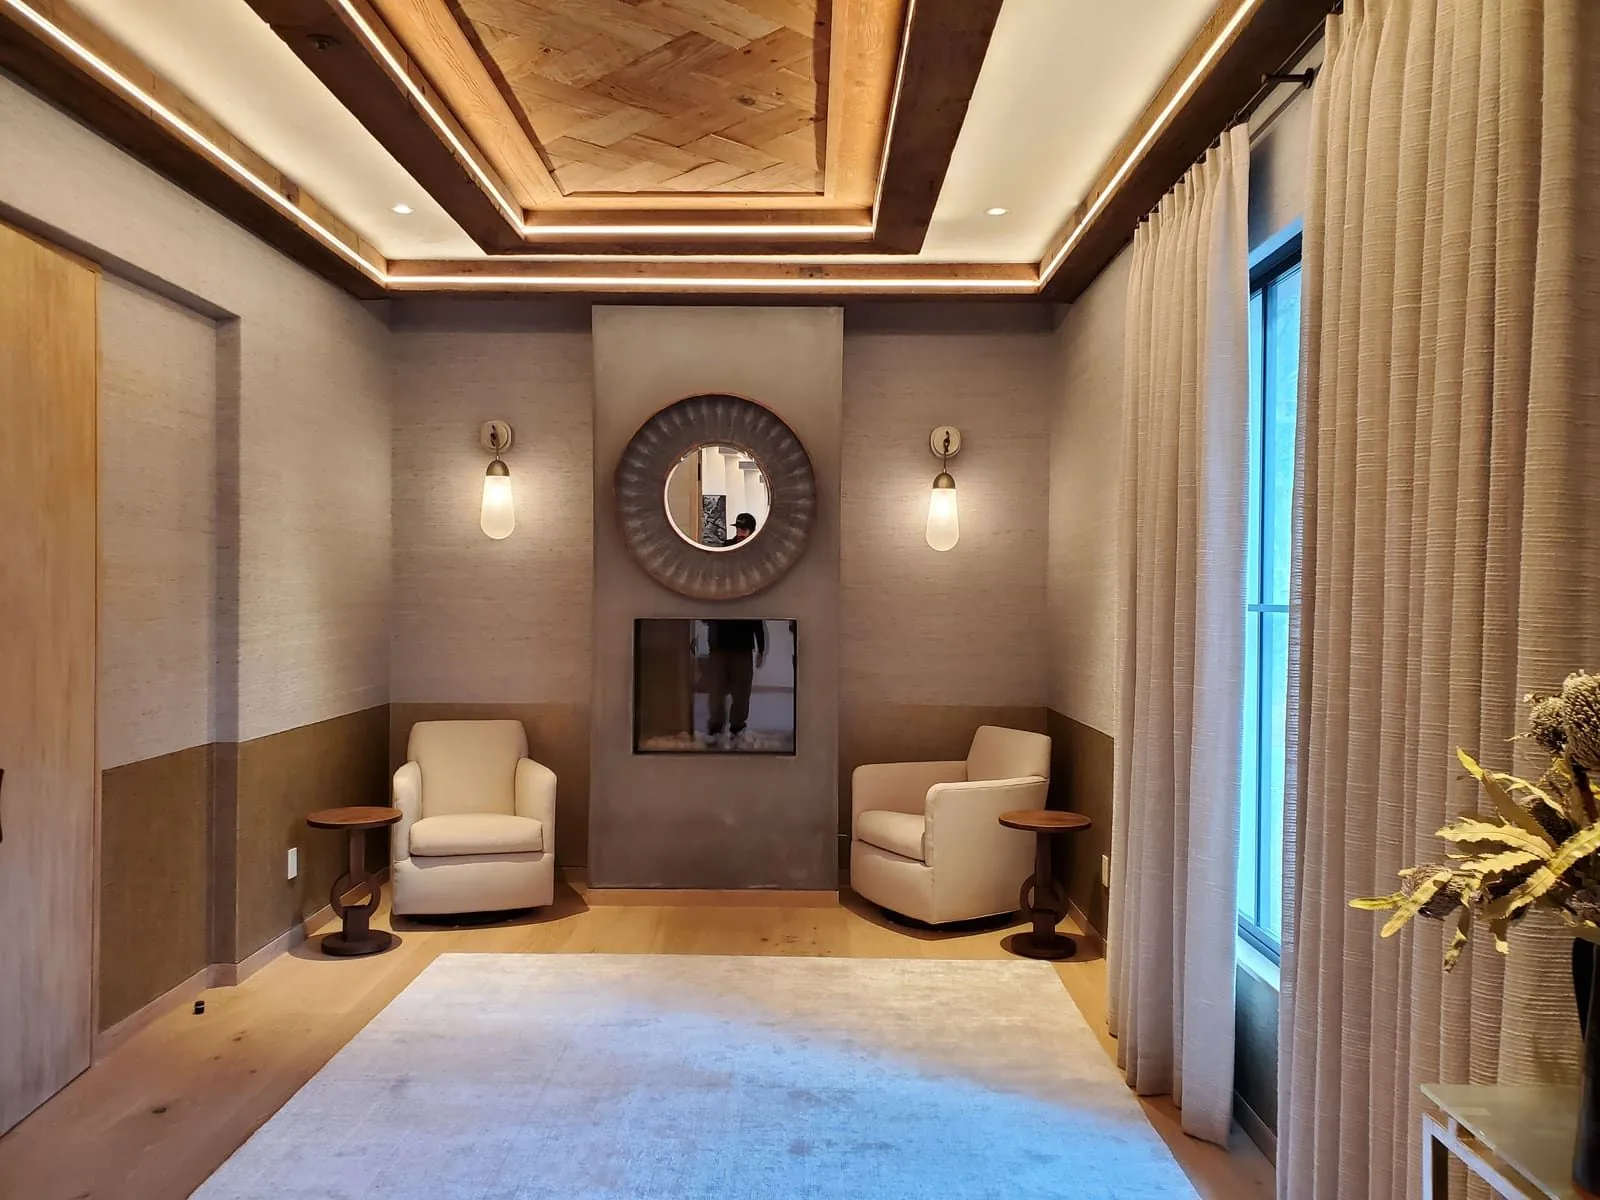
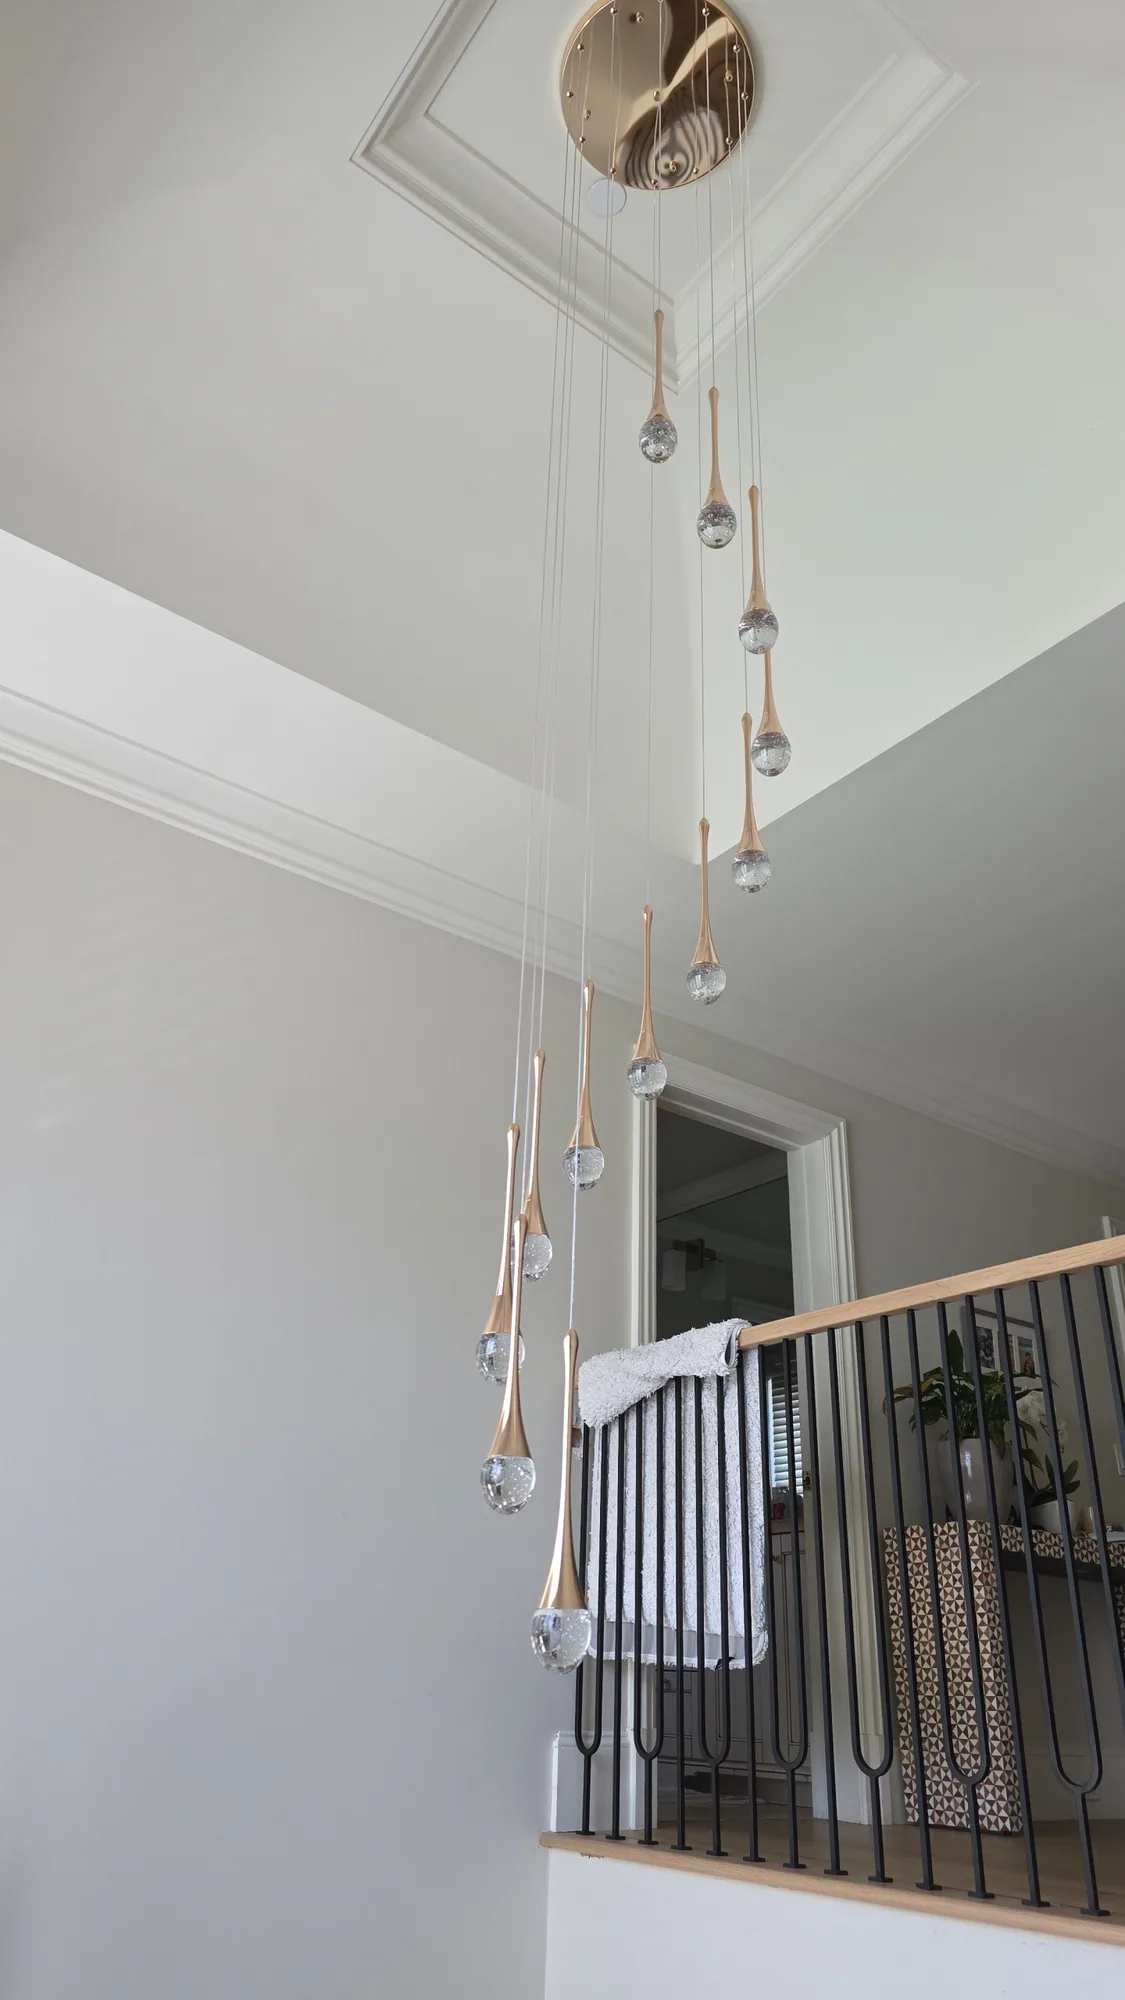
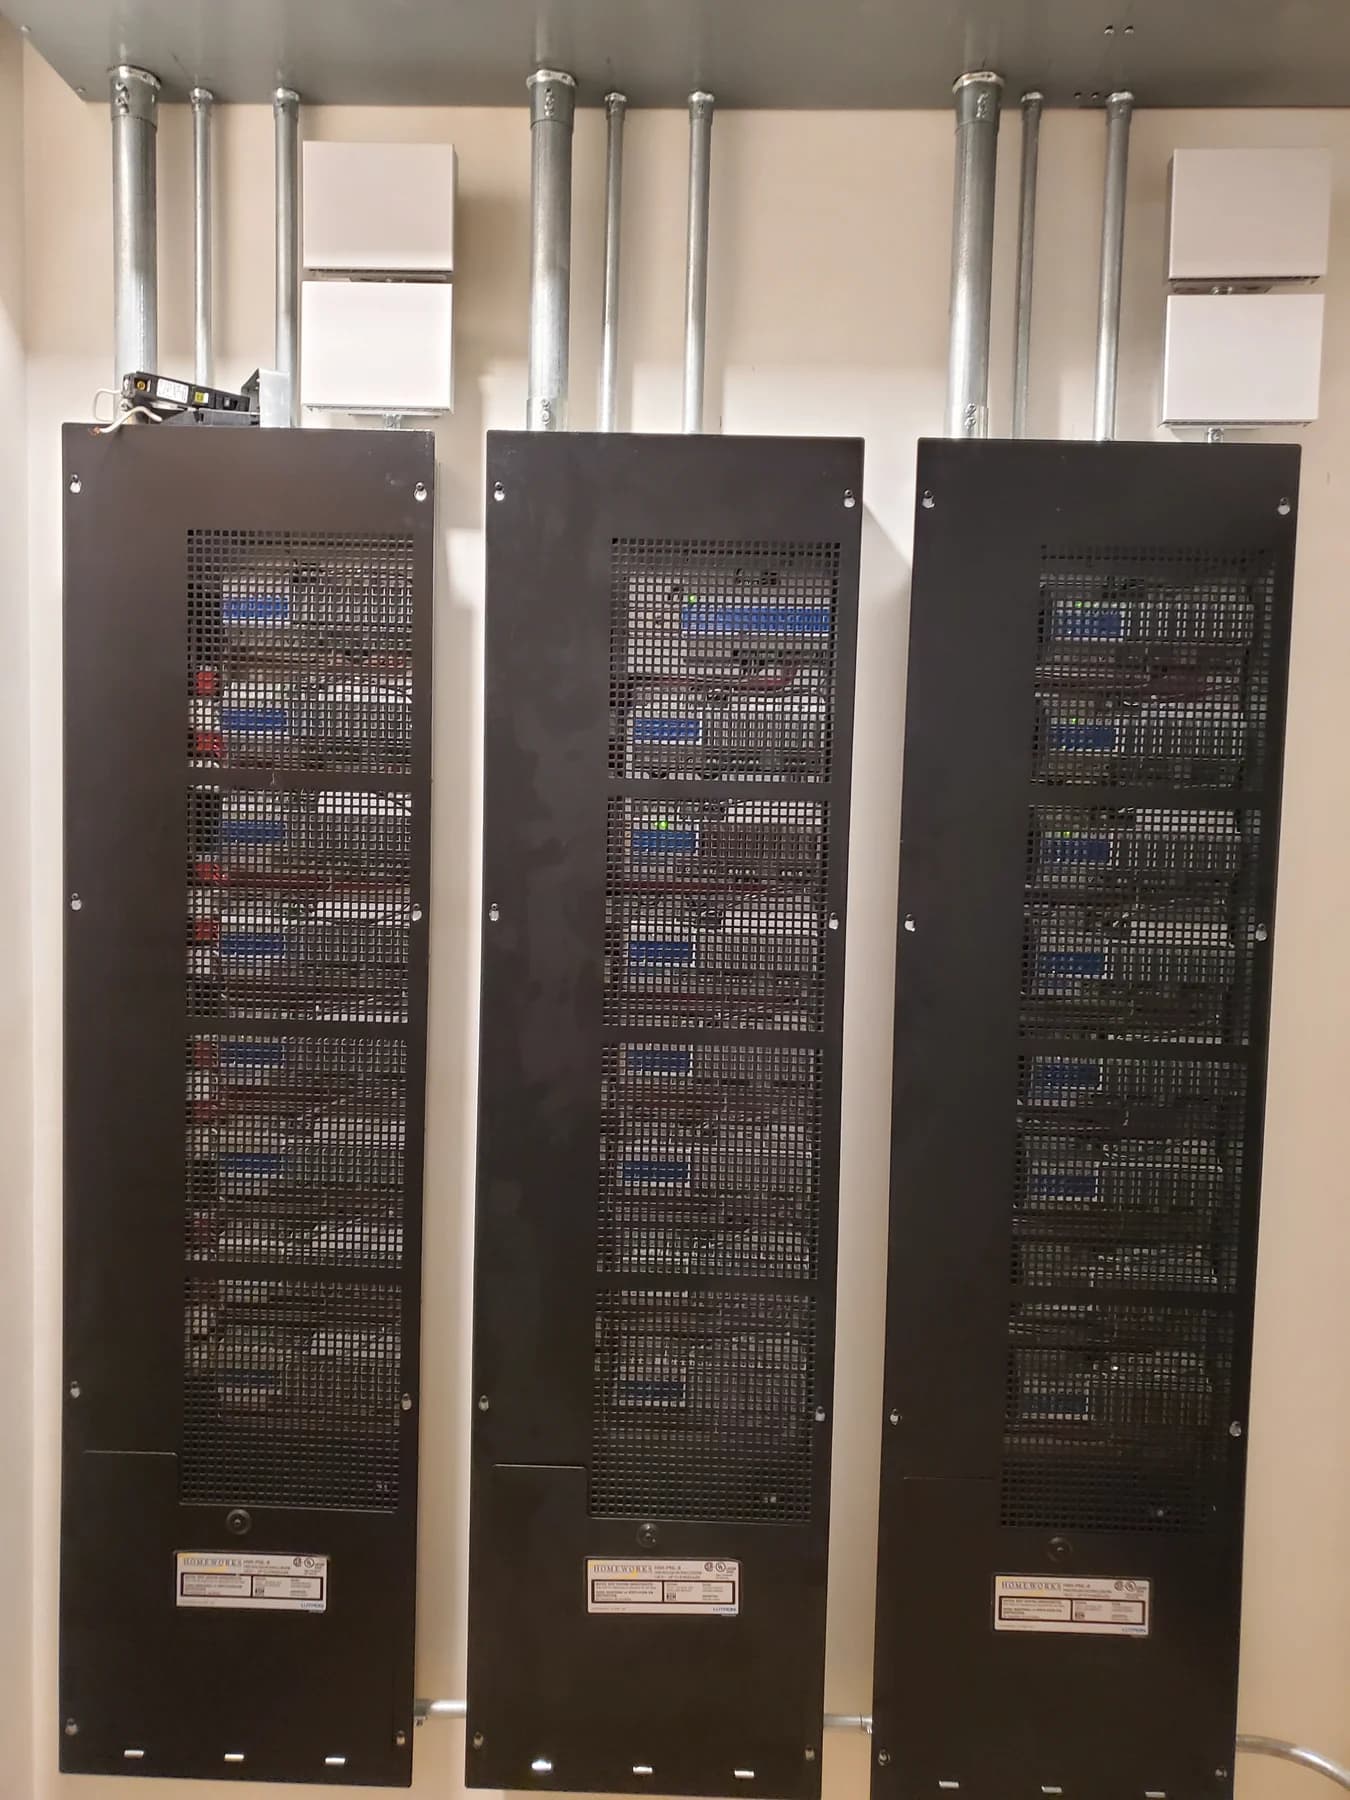
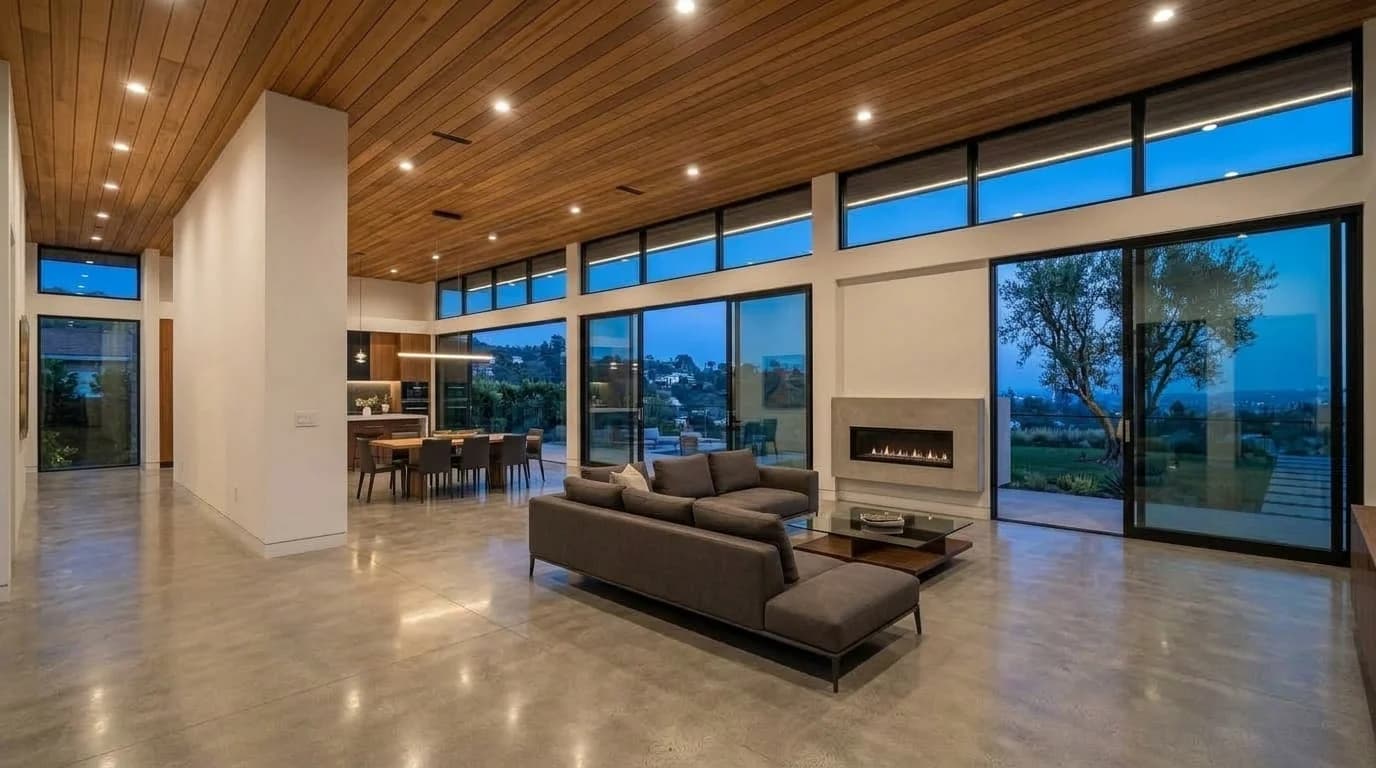
These photographs show lighting fixtures and illuminated details from completed room work.
Cove light
Update an existing cove while reviewing the source, driver, control, and ceiling detail around it.
Vanity
Improve mirror and counter light by checking where shadows fall and what the existing fixture can support.
Decorative
Keep a pendant or chandelier as the focal point while improving the light around it.
Select a photograph to view it at full size.
Two rooms with the same complaint can need different work. Start with the fixture type, existing lamp or integrated LED, trim and housing, driver or transformer where present, dimmer or switch, circuit arrangement, and the ceiling, cabinet, or decorative details worth preserving.
That review helps determine whether to reuse a location with a compatible retrofit product, replace a tired fixture, revise a control, add task light, or investigate a wiring or equipment issue before treating it as a lighting upgrade.
Flicker, buzz, pop-on, a narrow dimming range, or an LED that glows when off can come from the relationship between the source, driver, and control. A dimmable LED label alone does not show how a lamp or fixture will perform with the existing dimmer.
The scope should identify the installed control and the selected LED product, check manufacturer guidance, and account for the circuit and any low-voltage equipment. A symptom that persists after the lighting components are reviewed needs electrical diagnosis.
A retrofit may preserve a useful fixture location, ceiling finish, cabinetry, or decorative pendant while changing the source, trim, driver, or control around it. Condition, fit, heat rating, access, wiring, and the selected product determine the workable path.
For recessed or enclosed lighting, product and installation details matter as much as appearance. California has requirements and exceptions for residential lighting, including rules that apply to recessed and enclosed luminaires. The applicable requirement depends on the alteration.
The number and type of fixtures, access above the ceiling, ceiling or plaster condition, existing wiring, control changes, cabinet work, fixture supply, and any required permit or finish repair all affect the scope. Clear photographs of the room, the existing fixture, the control, and any visible labels help make the first conversation more useful.
A written scope can identify what is being reused, what is being replaced, how controls are handled, and what work falls outside the electrical installation.
Compare fixtures on the same schedule. Use total input watts, including the ballast or driver, and the energy rate from your bill.
Enter the six required values to see your comparison. No electricity price or project cost is assumed.
Annual kWh = fixtures × watts × hours/day × days/year ÷ 1,000. Energy cost = kWh × your rate. A single rate approximates time-of-use billing. Excludes demand charges, taxes, financing, maintenance, and incentives; equal brightness is not assumed. How energy use is calculated.
These real Los Altos photographs show the same vanity before and after its lighting upgrade.
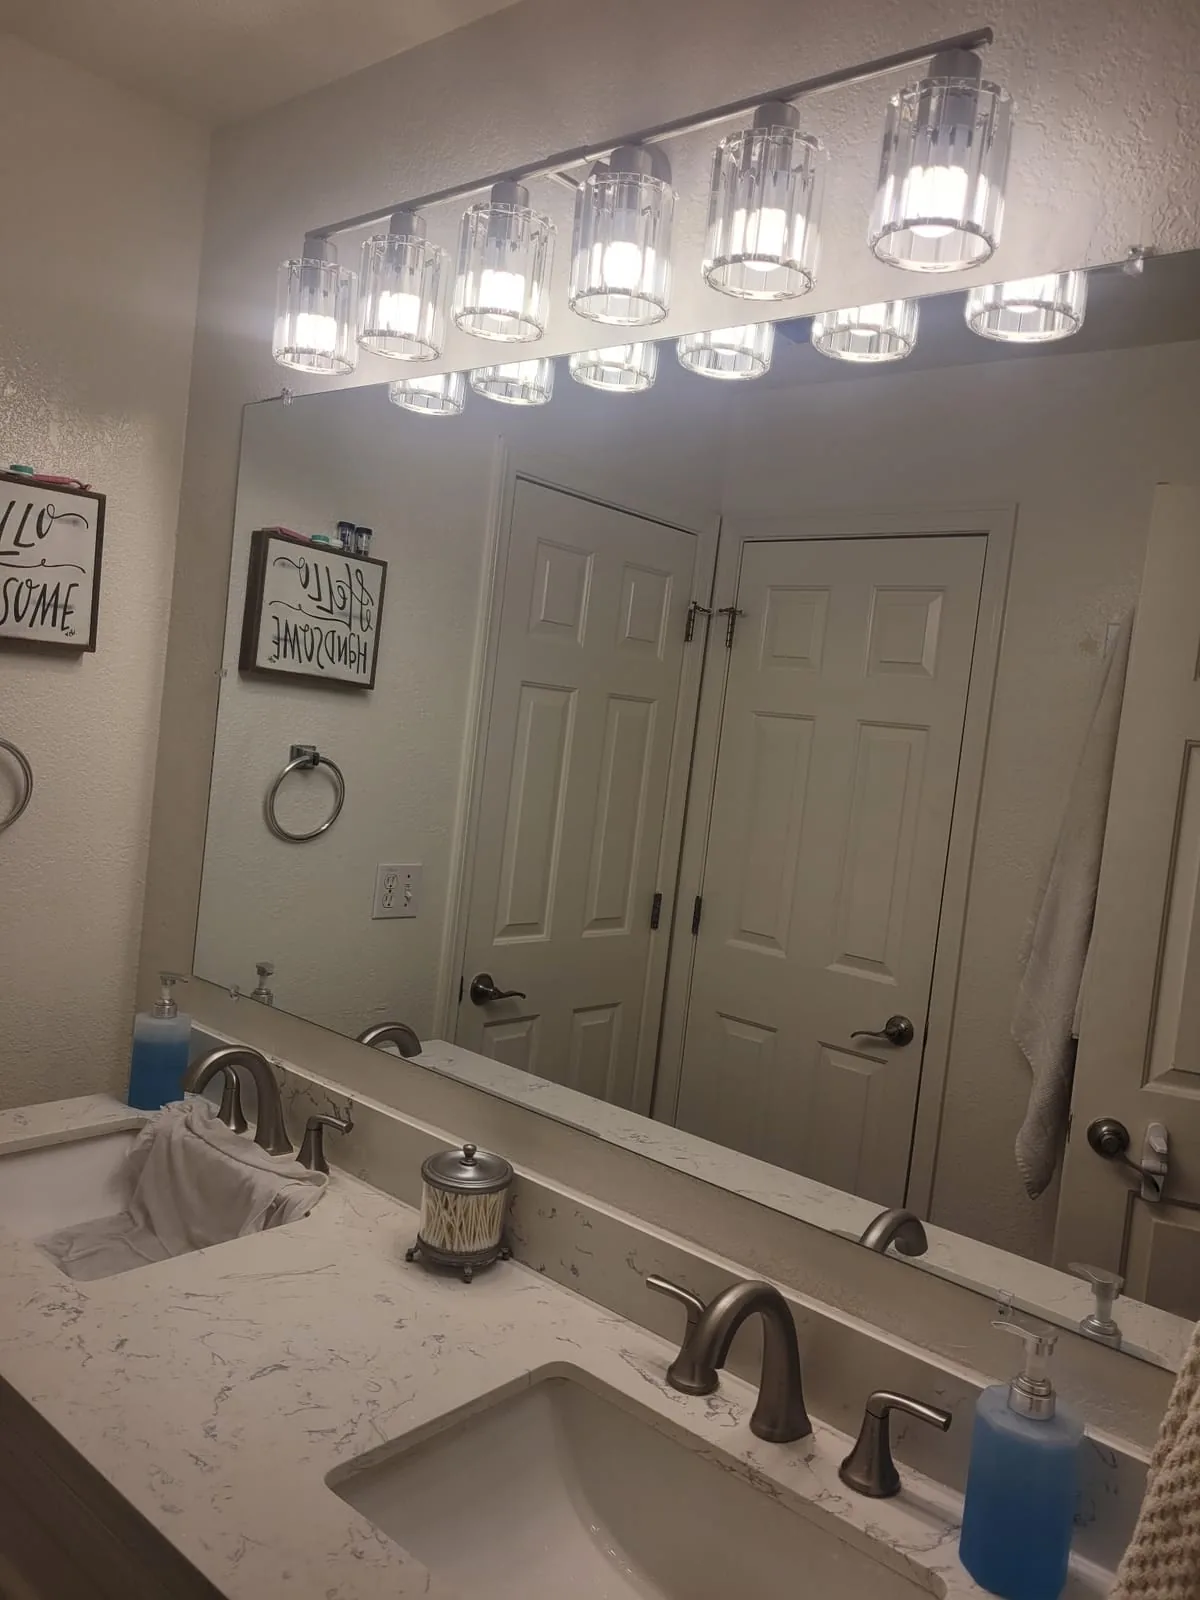
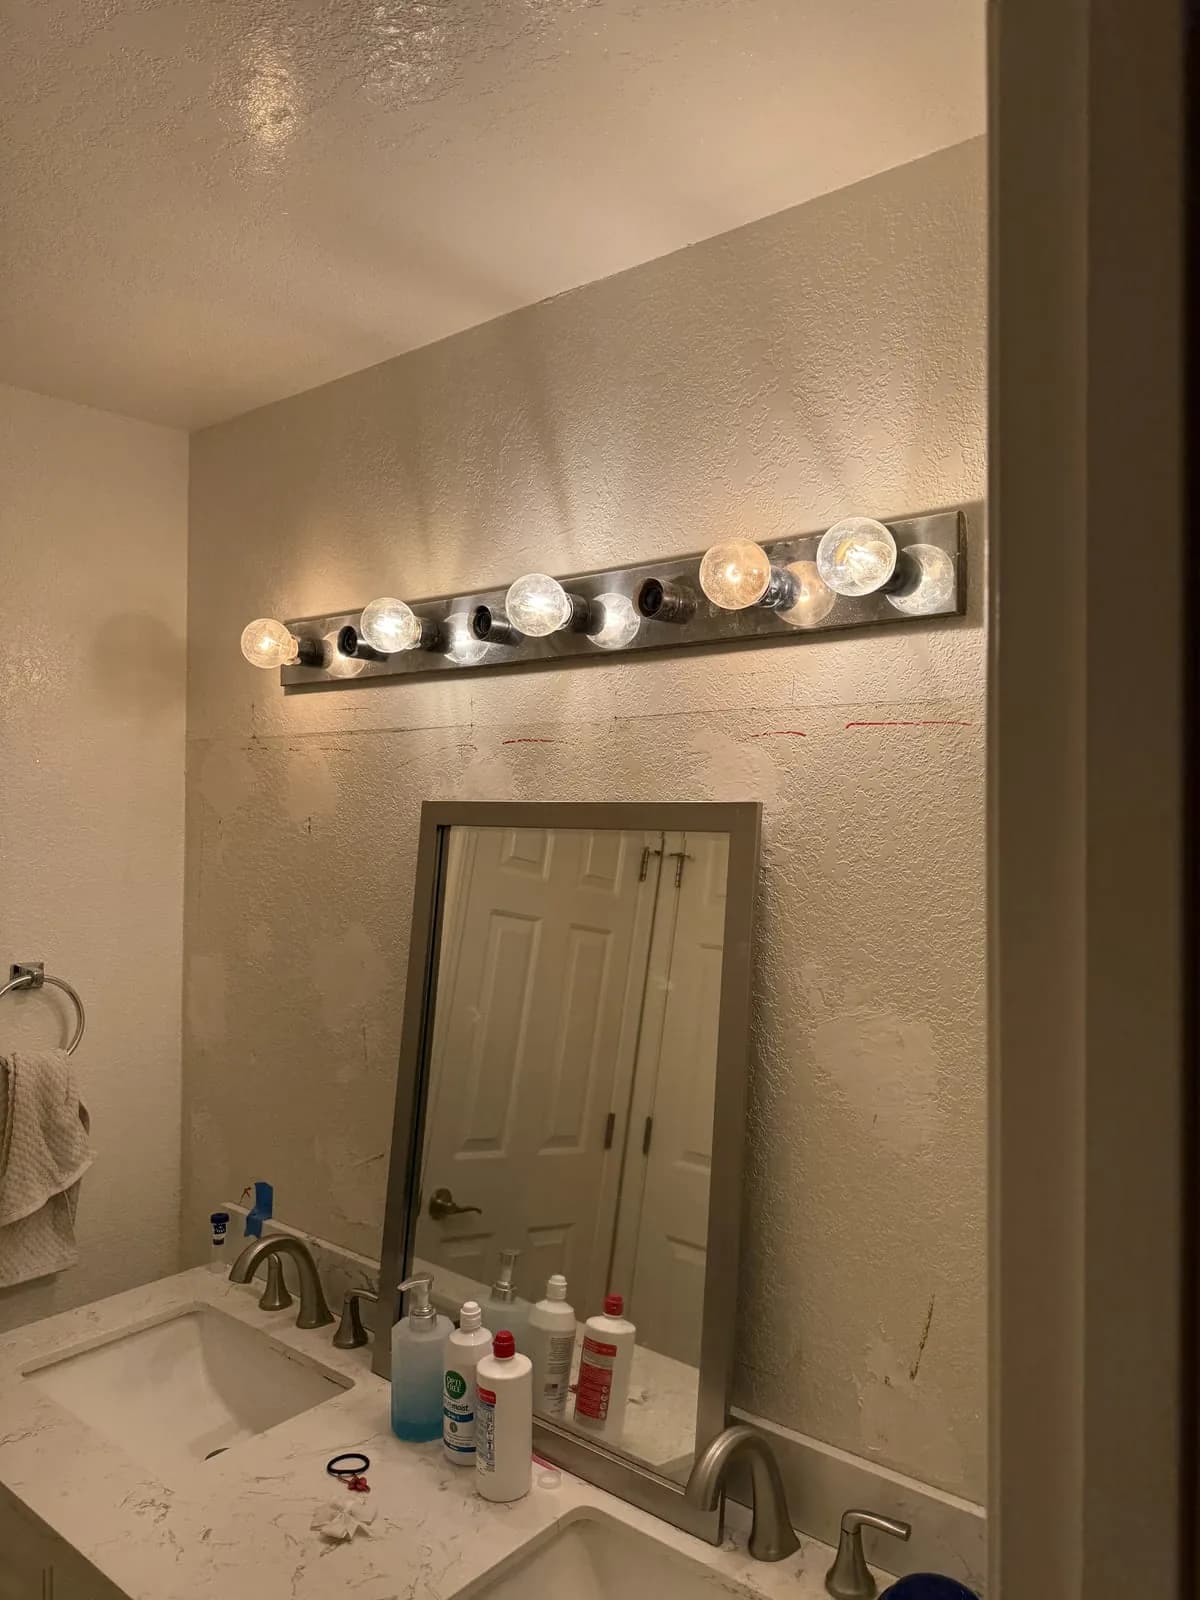
Drag the line to inspect both photographs. The camera angle and framing may differ between field visits.
From our field photos
The Los Altos comparison records the fixture above the same vanity before and after the change. The Santa Cruz photographs show finished room lighting, including recessed, cabinet, and hallway fixtures. Each view documents visible fixtures and room lighting; a similar project still needs the existing wiring, mounting locations, and selected controls reviewed before work is defined.
A retrofit starts with the existing wiring, fixture locations, controls, and ceiling details. That makes it easier to identify what can remain and what needs to change.
We look for glare, shadows, flicker, tired sources, and controls that no longer fit the room.
We choose LED sources and fixtures that suit the finishes, scale, and existing electrical layout.
We update the wiring and controls, install the fixtures, and set the light at the room.
The LED source or fixture, its driver where applicable, and the dimmer may not be compatible. Not every LED marked dimmable performs the same way with every control. The installed equipment and manufacturer compatibility guidance should be reviewed before deciding whether the source, dimmer, driver, or another part of the circuit needs attention.
A retrofit improves an existing room by evaluating what can remain and what should change: sources, trims, fixtures, drivers, controls, and selected task light. A lighting-design project starts with a whole-room layout and may add or relocate fixtures, circuits, and controls.
Some retrofit products work within an existing opening, while other conditions require a different housing, wiring route, or ceiling work. The existing fixture, ceiling construction, access, wiring condition, and new product determine whether repair is likely.
Requirements depend on the building type, the alteration scope, the equipment, and applicable exceptions. California has separate requirements for certain recessed and enclosed luminaires. The selected products and project documentation should be reviewed for the specific job.